

This past Sunday, I hosted a Super Bowl Appetizer cooking class for some of my friends and acquaintances to show off some easy recipes that were delicious, but that could be prepared in advance. Because it is fun to host a Super bowl party or to go to one. What is less fun is to try to get ready, while getting the food ready on time and warm for the guests. I hope that you will try this recipe. It is easy to fix, delicious and actually quite healthy because I am only using lean ground beef. It can also be prepared in advance, even frozen and warmed up right before your guests arrive or right before you are ready to go.
Ingredients for 6-8 people:
- 1 pack of lean ground beef ( 1 1/2 lbs),
- 3/4 cup of bread crumbs,
- 1/2 tbs of garlic salt,
- 1/4 tsp of pepper,
- 1 egg,
Sauce:
- 2 times 1/4 Maple Chipotle Sauce

- 2 times 1/4 seedless raspberry jam
- Place all ingredients in a bowl, or mixer and mix all until you have a well blended mixture.

- With a small ice-cream or cookie cutter, scoop small balls and place them into the deep flexipan that you would have already placed on a perforated sheet. Of course, if you do not have, you can just use a regular cookie sheet that you will line with parchment paper.

- Cook them for about 15 minutes.

- While they are cooking, mix the raspberry and the maple chipotle sauce.

- When the meatballs are done, pour half of the sauce over them and mix well to coat the meatballs.

 Put them back into the oven for another 5-10 minutes.
- When they come out, pour the other sauce and coat them again before eating them. Enjoy!!!

Bon Appetit and Happy Cooking!!!
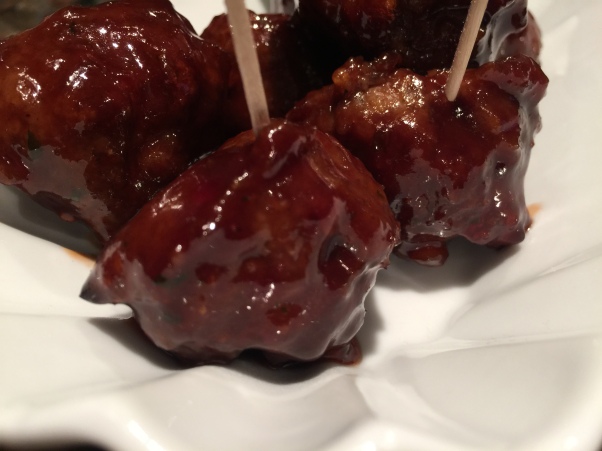
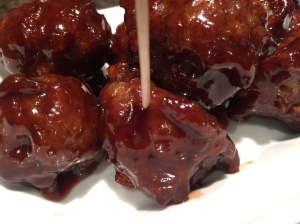
Raspberry Chipotle Beef Meatballs
Ingredients for 6-8 people:
- 1 pack of lean ground beef ( 1 1/2 lbs),
- 3/4 cup of bread crumbs,
- 1/2 tbs of garlic salt,
- 1/4 tsp of pepper,
- 1 egg,
Sauce:
- 2 times 1/4 Maple Chipotle Sauce
- 2 times 1/4 seedless raspberry jam
- Place all ingredients in a bowl, or mixer and mix all until you have a well blended mixture.
- With a small ice-cream or cookie cutter, scoop small balls and place them into the deep flexipan that you would have already placed on a cookie sheet.
- Cook them for about 15 minutes. While they are cooking, mix the raspberry and the maple chipotle sauce.
- When the meatballs are done, pour half of the sauce over them and mix well to coat the meatballs.
- Put them back into the oven for another 5-10 minutes.
- When they come out, pour the other sauce and coat them again before eating them. Enjoy!!!
Bon Appetit and Happy Cooking!!!


